Maps
WARDOGS maps and Control Zones guide — the randomized 2x2km battlefield, the double-cash Hot Zone, chokepoints and high-ground tactics.
Introduction
The WARDOGS battlefield is the derelict industrial mountains of Eastern Europe — a 2x2km stretch of ruins, apartment blocks, factories and mountain passes. Each match, a Control Zone is randomly selected within the larger map, keeping every engagement fresh and forcing teams to adapt their strategy on the fly. The zone itself is the heart of All-Out Warfare: the team with the most players inside earns points. Around it, the terrain tells the story — chokepoints funnel attackers and are prime fortification spots, high ground gives snipers and overwatch teams sightlines that dominate the fight, and the Hot Zone is a risky, high-value area that pays double cash. Learning the map is learning the game: where to hold, where to push and when to rotate. This category breaks down the Control Zone system, map tactics and the terrain knowledge that wins matches.
Terrain & Objective Reference
| Feature | Gameplay Impact | Tactical Use |
|---|---|---|
| Control Zone | Randomized 2x2km — hold it to earn points | Most players inside the zone wins the tick |
| Hot Zone | Pays double cash but is high risk | Push when you control the approach |
| Chokepoints | Funnel attackers into kill zones | Fortify with sandbags and barricades |
| High Ground | Overwatch and sniper sightlines | Control the zone from above |
Key Terrain Features
Control Zone
The randomized objective that defines every All-Out Warfare match.
Hot Zone
Double cash, double danger — the risk-reward heart of the economy.
Chokepoints
Funnels, kill zones and the best fortification spots on the map.
High Ground
Overwatch positions that dominate the terrain below.
Core Mechanics
The map system in WARDOGS revolves around the randomized Control Zone. Because the zone is 2x2km and chosen per match, teams must read the terrain and adapt: which entry points feed the zone, where the chokepoints funnel movement, and where the Hot Zone will pay double. High ground offers overwatch, chokepoints offer control, and the Hot Zone offers economic reward. The industrial mountain terrain blends urban ruins with open slopes, so every zone location plays differently. Map mastery means predicting where the enemy will come from, holding the angles that matter, and rotating reinforcements faster than the enemy can respond.
Advantages
The randomized Control Zone keeps WARDOGS matches fresh — no two fights play the same, and memorizing the map flow pays off across thousands of possible zone locations rather than a single static layout. The terrain itself is deeply tactical: chokepoints create natural kill zones that favor fortification, high ground rewards map awareness and gives snipers dominant sightlines, and the Hot Zone adds an economic layer that turns map control directly into cash. Learning the map is a compounding skill that improves every other part of your play — better positioning, faster rotations and smarter Hot Zone timing all come from reading the terrain correctly.
Challenges
Randomization makes specific strategies unreliable because you cannot plan for one static layout, so teams must adapt and re-read the terrain every single match. The sheer size of the 2x2km battlefield means long travel times without vehicles, which punishes uncoordinated squads that cannot organize transport or communication. The Hot Zone's double-cash reward also draws heavy fights that can bleed a team dry if they overcommit at the wrong moment, turning a good economic opportunity into a team-wiping gamble. Pre-release, exact map layouts and zone rotations are not fully documented, so some terrain details remain community-derived until BULKHEAD publishes official map data, which means players must verify contested callouts themselves.
Frequently Asked Questions
What is a Control Zone?+
How does the Hot Zone work?+
What are the best positions to hold?+
Quick Tips
Learn every possible Control Zone location on each map, because knowing where the zone can spawn beats memorizing a single layout every time. The randomized selection means the objective appears in different terrain each match, and the team that adapts fastest to the new zone position is the one that wins the early scoring ticks.
Control the chokepoint that feeds the zone rather than just standing inside the objective, because map control is what actually wins the scoring tick in All-Out Warfare. A team that owns the approach can rotate players in and out of the zone smoothly without ever emptying it, and that constant presence is far more valuable than raw body count.
Rotate to the Hot Zone in coordinated groups and never alone, because double cash is only ever safe when the whole squad commits together. A solo push into the Hot Zone simply gives the enemy team free kills and free income, while a coordinated entry earns double cash safely before you rotate back out.
Featured
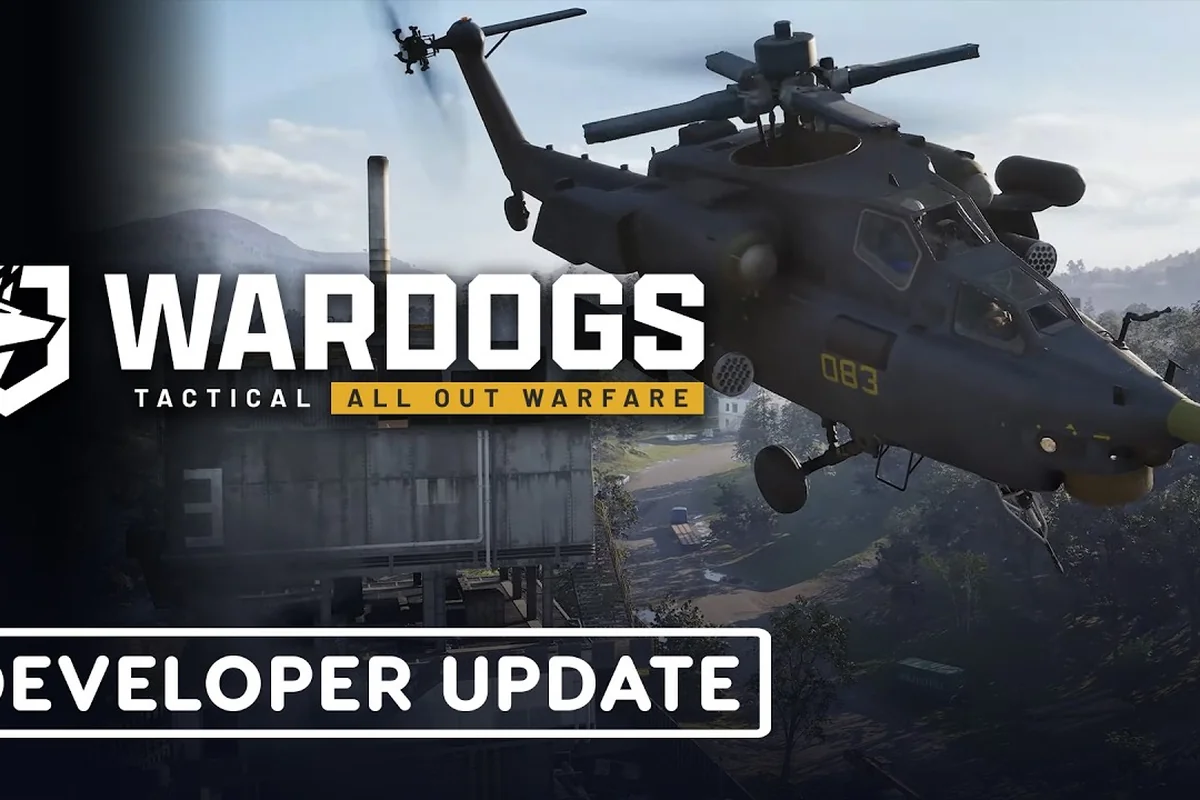
WARDOGS capture points: high ground and sniper spots
Hold WARDOGS capture points with the best objective locations. Learn high ground spots, sniper positions, and defensive spots to lock down zones.
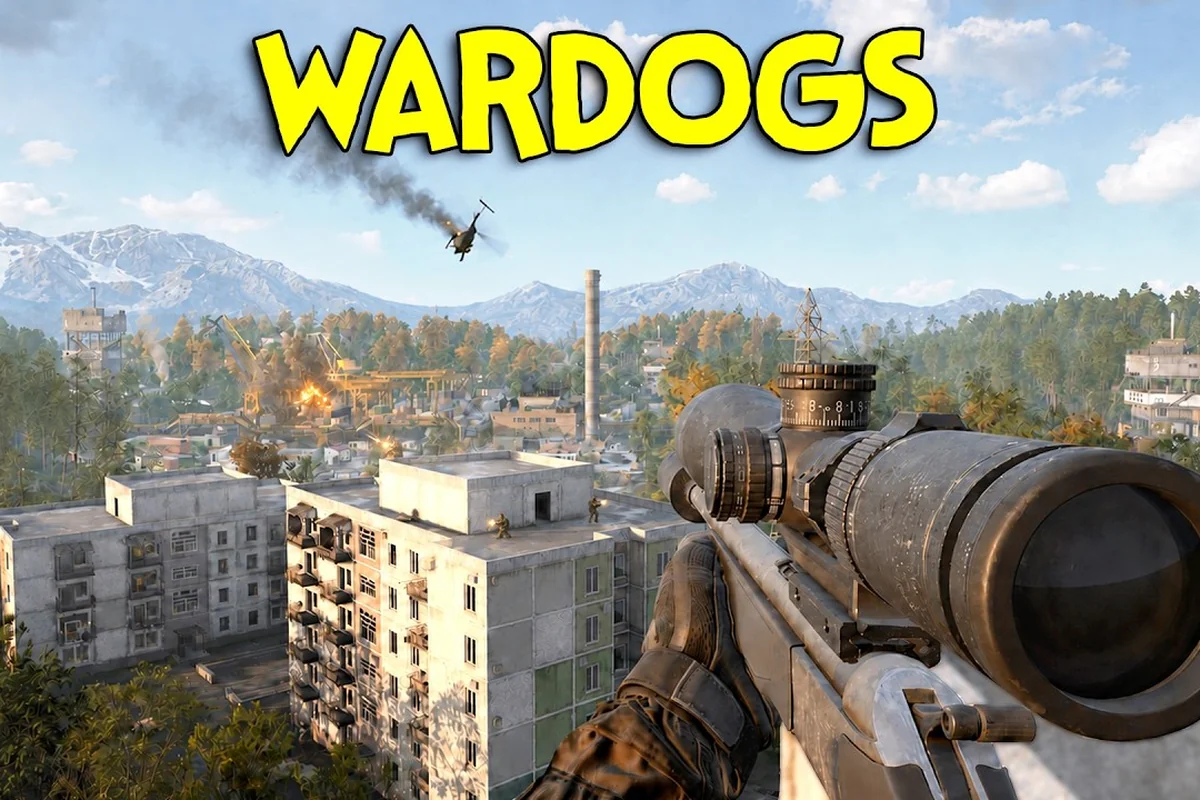
WARDOGS map awareness: flanking routes and landmarks
Improve WARDOGS map awareness with flanking routes, landmark callouts, and vehicle routes. Use vantage points to catch enemies off guard and control fights.
WARDOGS map list: control zones and hot zones ranked
See every WARDOGS map list entry with control zone guides and hot zone strategies. Learn which maps favor aggressive play and how to win them.
All Articles
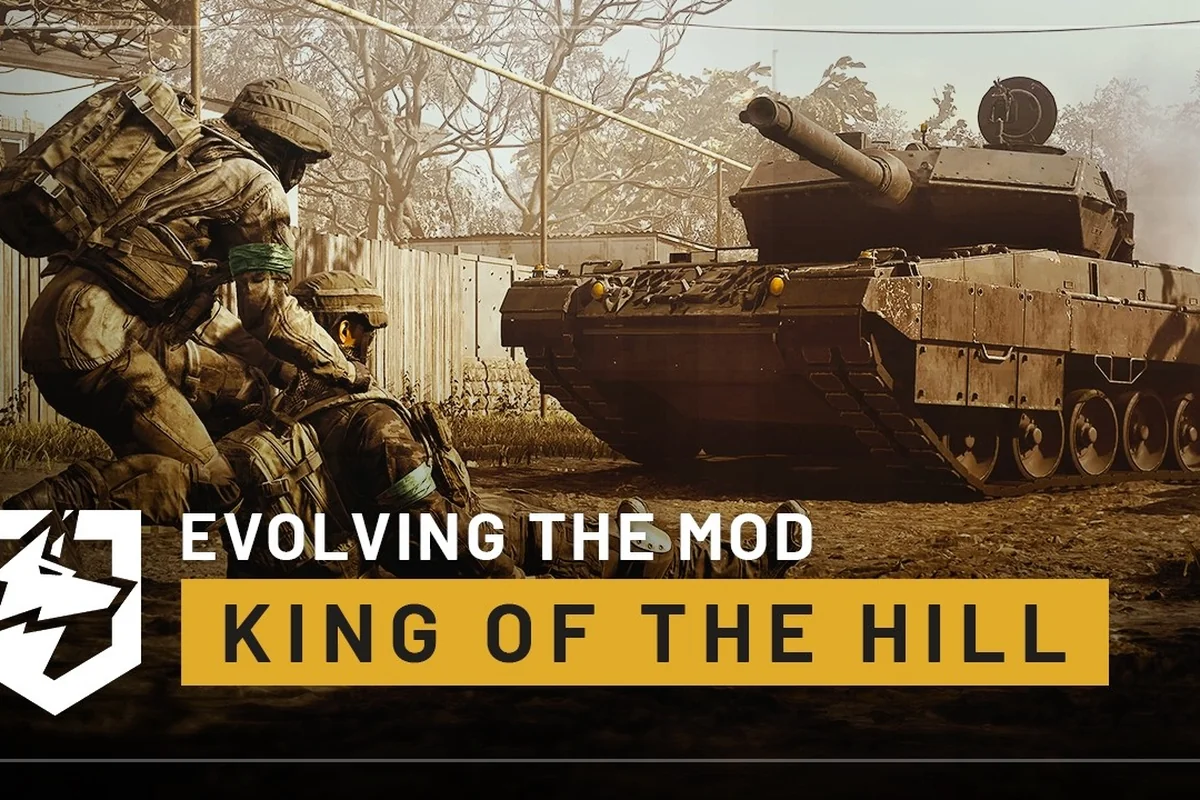
WARDOGS map tactics: dominate 2x2km zones with callouts
Learn WARDOGS map tactics to dominate 2x2km zones and every layout. Get callouts, size comparisons, and the best map picks for each game mode.
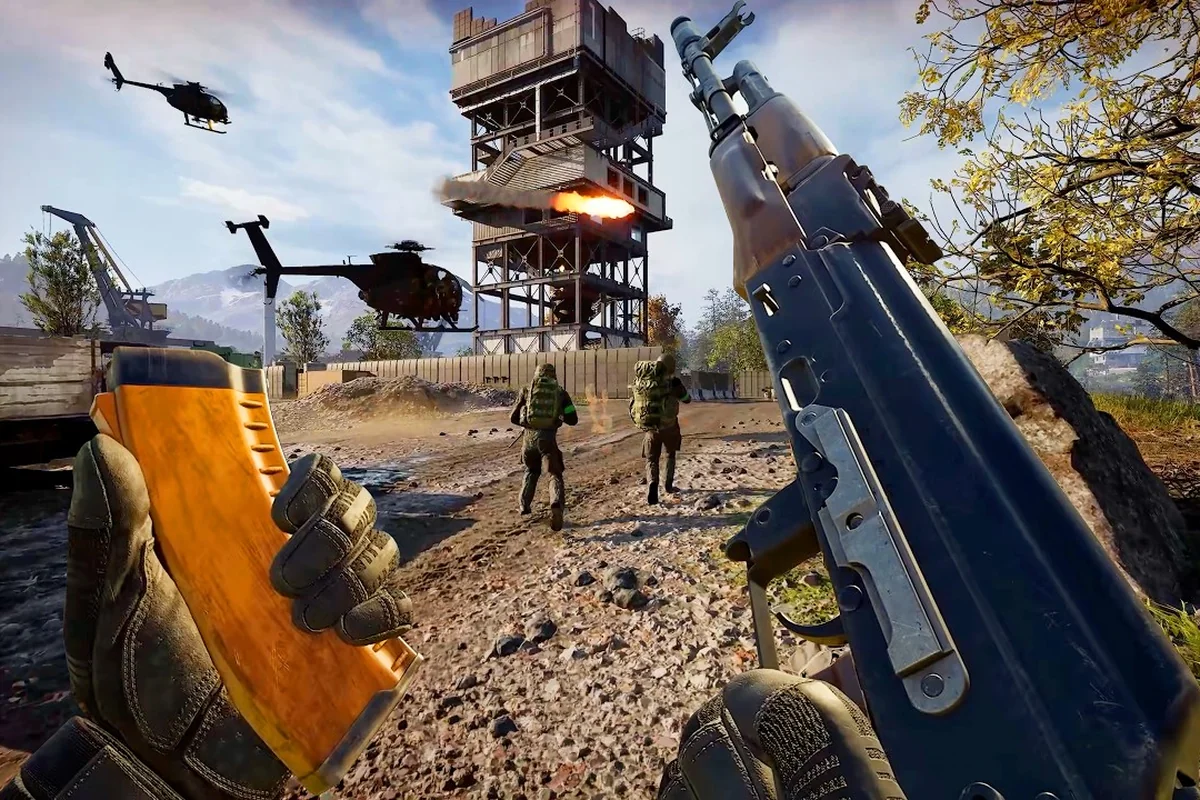
WARDOGS map tips: eastern europe, industrial, urban
Get WARDOGS map tips for eastern europe, industrial, mountain, urban maps. Understand rotation, overviews, and how to exploit terrain for tactical advantage.
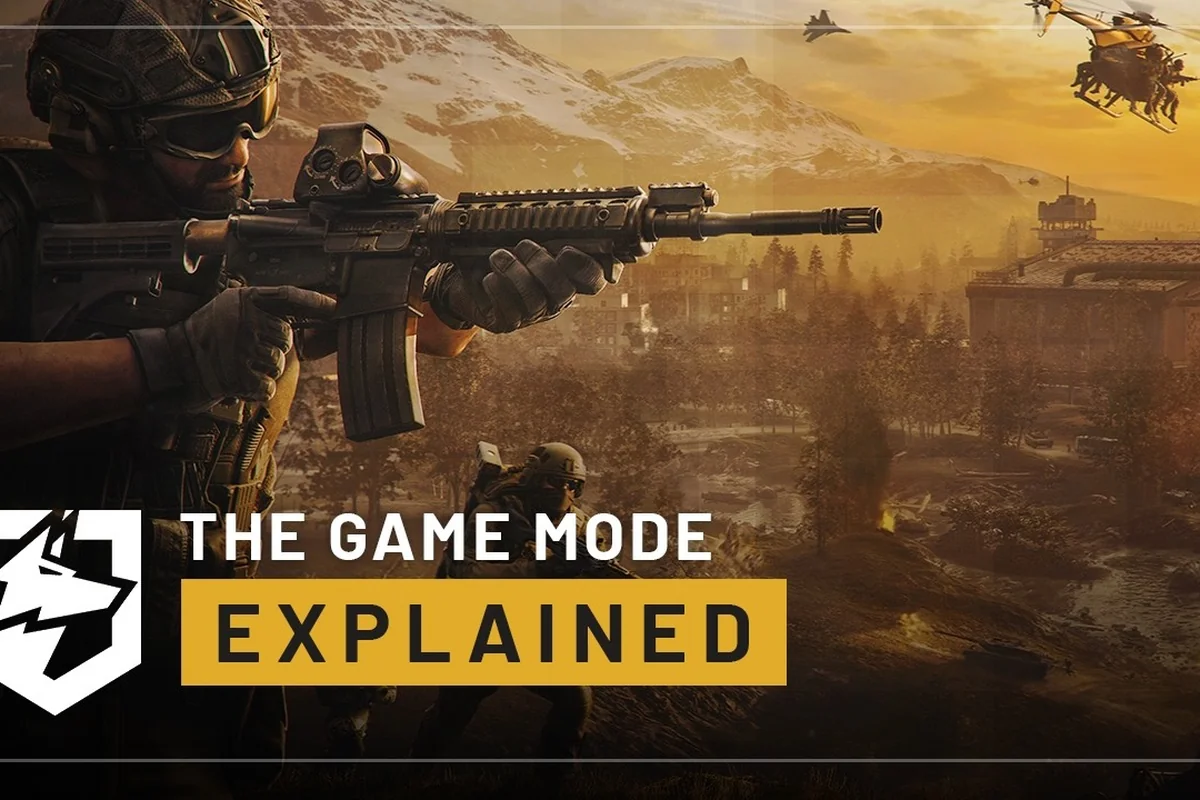
WARDOGS contested zones: rotation guide for map picks
Master WARDOGS contested zones with rotation and chokepoint strategies. Learn which map picks favor aggressive play and how to rotate between zones for control.
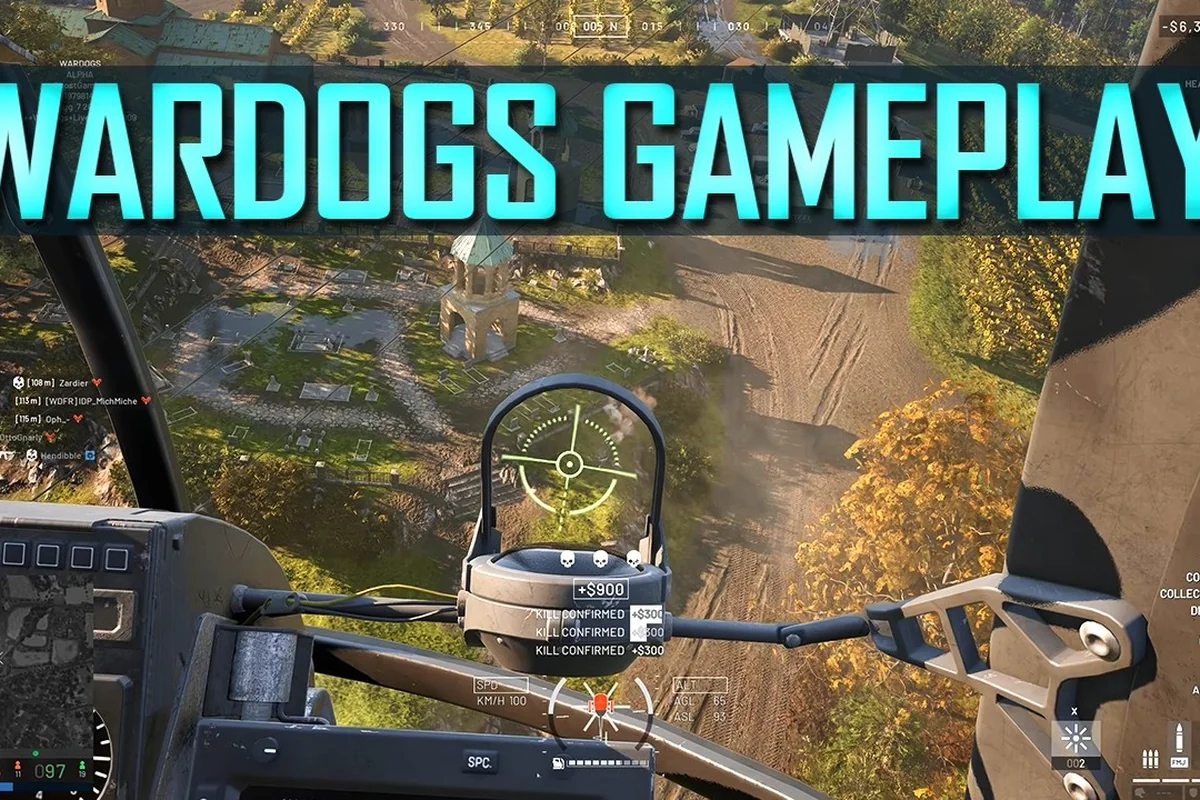
WARDOGS map meta: spawns, terrain, and cover guide
Understand WARDOGS map meta with spawn points, terrain analysis, and a cover guide. Control the battlefield with map control strategies that win.