
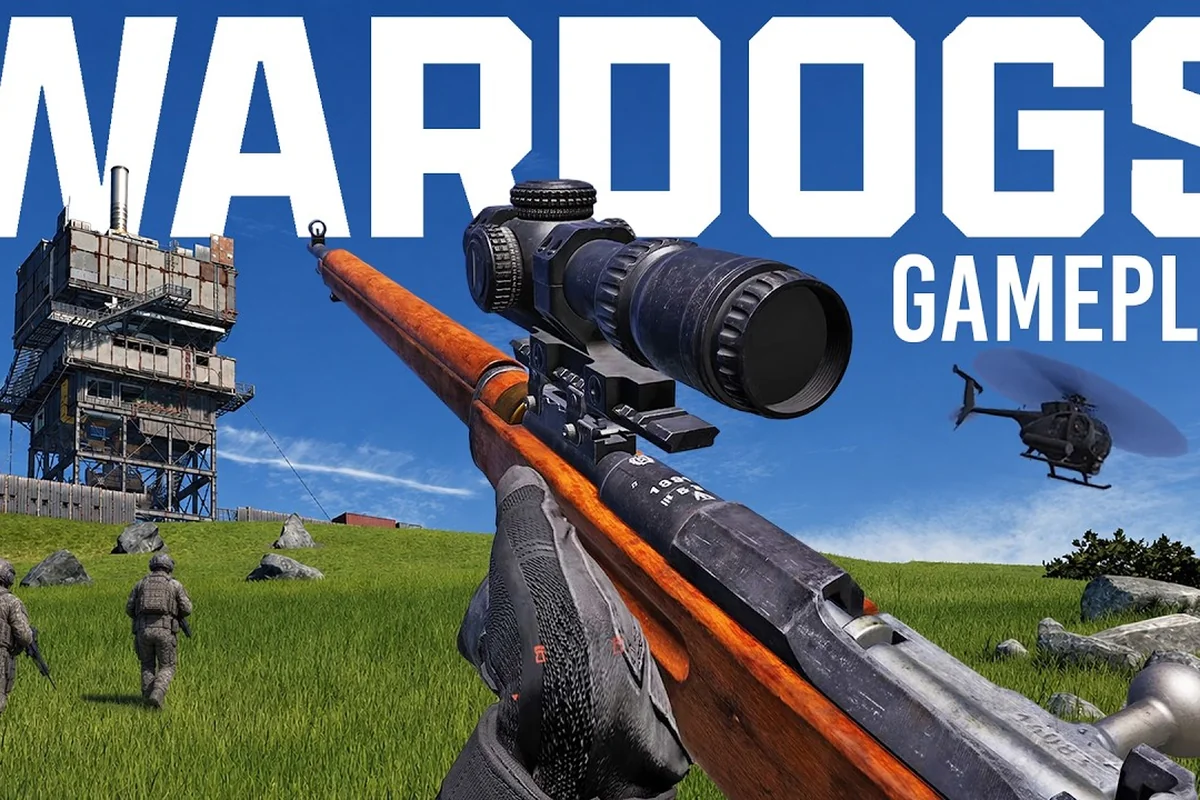
Dying in WARDOGS is not the end of your match, but understanding WARDOGS how respawning works can mean the difference between a quick return to the fight and a costly walk back from the edge of the map. Because every life starts with a fresh $10,000 loadout purchase, death carries an economic weight that most arcade shooters never ask you to consider. The respawn system ties directly into the persistent cash economy, so knowing when to play aggressively and when to hold back is a core skill that separates winning squads from disorganized ones.
The key insight for new players is that WARDOGS does not use a traditional round-based elimination model. Instead, the 100-player, three-team King of the Hill format keeps you cycling through death and respawn constantly, which means your ability to manage the downtime between lives directly influences how many points your team can stack while the control zone rotates. This guide breaks down the exact mechanics, the squad-based advantages you can leverage, and the strategic decisions that make your respawns work for you rather than against you.
The Core Respawn Loop and Death Timer Basics
Every time you die in WARDOGS, you enter a respawn timer before you can redeploy with a fresh loadout. According to the official WARDOGS page on Steam, each life begins with a custom loadout purchase, and that cash persists across matches. This means your death timer is not just a countdown; it is a budgeting moment where you decide how to spend your remaining cash on weapons, gear, utility, and vehicles for the next life.
The base respawn timer operates on a fixed countdown, but the exact duration can shift based on when you die relative to the match flow. Community reports suggest that dying during the Hot Zone double-cash window can feel especially punishing, because you lose both your position and your earning potential while you wait. Players who die repeatedly without contributing to objectives will watch their cash reserves dwindle, which is why the game's design pushes you toward teamplay actions like reviving and transporting squadmates to offset those losses.
| Respawn Factor | Impact on Your Return | Strategic Consideration |
|---|---|---|
| Base death timer | Fixed countdown before redeploy | Use the wait to plan your next loadout |
| Cash balance | Determines what you can afford | Cheaper kits allow faster re-engagement |
| Squad proximity | Can enable faster team regrouping | Coordinate spawn timing with teammates |
| Hot Zone status | Affects cash earned after return | Prioritize returning during double-cash windows |
| Vehicle availability | Changes how you reach the fight | Spawn a jeep to cut travel time |
Because the persistent cash economy means your bank roll carries over between matches, dying with a fully loaded kit is not just a tactical setback; it is an economic one. The official Steam description notes that teamplay actions such as reviving, transporting squadmates, and controlling objectives earn cash, which means the most efficient way to recover from a death is to immediately look for ways to contribute beyond raw combat. If you want a deeper look at how the broader economy functions, the WARDOGS cash economy guide explains the earning and spending loops in detail.
What Happens When You Die
When your health reaches zero, you enter a downed state briefly before the death screen appears. Unlike extraction shooters where you lose your gear permanently, WARDOGS lets you keep your persistent cash and simply purchase a new loadout for the next life. This design choice encourages aggressive play because the penalty is time and money, not total progression loss.
The death screen shows your current cash balance, your squad's score contribution, and the remaining match time. This is the moment to check your cash reserves and decide whether you can afford your preferred weapon or whether you should run a budget kit for one life to build back up. Players who ignore this screen and blindly rebuy the most expensive loadout every time will find themselves broke by the mid-game, especially if they die during the Hot Zone rotation where the action is densest.
Squad Mechanics and Faster Returns
The WARDOGS squad system is built around the idea that team coordination should be mechanically rewarded, and the respawn system is no exception. While the base death timer applies to everyone, squads that communicate effectively can stagger their deaths so that at least one member is always alive to hold a position or call out enemy movements. This is where WARDOGS squad mechanics go beyond simple voice chat and become a genuine tactical layer.
According to the Team17 official site, WARDOGS offers "no set rules of engagement," which means your squad is free to develop its own respawn rhythm. Some teams assign a designated squad leader who holds back from the frontline to avoid dying at the same time as the rest of the group. Others use a rotation system where two players push the objective while two stay in reserve, ensuring that a death never leaves the squad completely absent from the fight.
| Squad Role | Respawn Strategy | Team Benefit |
|---|---|---|
| Point man | Dies first, returns with intel | Reports enemy positions while waiting |
| Support player | Stays back, revives teammates | Reduces squad death count |
| Vehicle operator | Spawns a jeep after death | Transports squad back to the zone faster |
| Squad leader | Avoids risky pushes | Maintains coordination during respawn waves |
The proximity voice chat system plays a huge role here, because you can communicate with nearby teammates even while you are dead and waiting to respawn. This lets you coordinate your return so that the whole squad hits the control zone at the same moment, rather than trickling in one by one and feeding the enemy kills. If you want to improve how your squad communicates during these windows, the WARDOGS matchmaking guide covers voice chat settings and squad-up strategies.
Reviving and Its Impact on the Respawn Economy
WARDOGS includes a revive mechanic that directly interacts with the death and respawn system. When a teammate goes down, you have a short window to revive them before they fully die and enter the respawn timer. Successfully reviving a teammate not only saves them from the death timer but also earns you cash, which reinforces the game's "selfish teamwork" philosophy that PCGamesN highlighted in their impressions piece.
The economic math is simple: a revive costs you a few seconds of exposure but saves your teammate the full respawn cycle and the need to rebuy a loadout. Over a full match, a squad that prioritizes revives will spend significantly less cash on replacement kits, giving them a budget advantage over teams that let their members die and rebuy constantly. This is why the WARDOGS cash for teamplay guide emphasizes revive actions as one of the most reliable income streams in the game.
Death and Respawn Strategy by Match Phase
The respawn system in WARDOGS is not static; its value shifts depending on where the match is in its progression. Early in a match, deaths are relatively cheap because the control zone is still being contested and the Hot Zone has not yet become the center of attention. Later, when the match is close and every point matters, a poorly timed death can hand the enemy team the momentum they need to close the gap.
Understanding the match phases helps you decide when to take risks and when to play conservatively. In the opening minutes, aggressive pushes are rewarded because the zone is still being established and the enemy team is likely disorganized. As the match progresses and the Hot Zone rotates, deaths become more costly because the double-cash window means you are losing potential income every second you spend on the respawn screen.
| Match Phase | Death Cost | Recommended Approach |
|---|---|---|
| Early game | Low | Push aggressively, gather intel |
| Mid game | Medium | Balance risk with cash preservation |
| Hot Zone active | High | Play cautiously, stay near cover |
| Late game close score | Very high | Avoid risky solo pushes |
| Overtime | Critical | Coordinate squad respawn timing |
The overtime rules in WARDOGS add another layer to respawn strategy, because a single death during this window can effectively end the match if your team cannot hold the zone without you. Teams that communicate their respawn timers during overtime can stagger their deaths so that the zone is never left completely undefended, which is a subtle but powerful application of WARDOGS squad mechanics. For a full breakdown of how scoring and match length interact with these decisions, the WARDOGS scoring guide provides the complete picture.
Budget Loadouts for Faster Re-Engagement
One of the most practical applications of understanding WARDOGS how respawning works is learning to build budget loadouts that let you return to the fight without draining your cash reserves. A budget kit typically includes a basic rifle, minimal attachments, and no vehicle, which keeps your cost low and your respawn cycle fast. This is especially useful when you are low on cash or when the match is entering its final phase and you need to be on the field immediately.
Players who master this approach can maintain a positive cash flow even while dying frequently, because their replacement costs are low enough that the cash earned from teamplay actions outpaces their spending. The official Steam page notes that teamplay actions earn cash, so a player running a budget kit who focuses on revives and objective control can actually grow their wealth while contributing to the team's score. This is the opposite of the player who buys the most expensive loadout every life and slowly goes bankrupt over the course of a match.
Team Coordination and Respawn Wave Timing
The most advanced application of the WARDOGS squad system is respawn wave timing, where your squad deliberately coordinates its deaths and returns to create maximum pressure on the control zone. Instead of everyone dying at once and returning together, a well-coordinated squad staggers its deaths so that there is always at least one squad member alive to hold the objective or scout enemy movements.
This approach requires discipline and communication, because it means some players must hold back while others push. The reward is a constant presence on the objective, which is exactly what the scoring system wants: the team with the most players inside the control zone earns points, so maintaining a continuous presence is more valuable than a brief burst of overwhelming force. The proximity voice chat system makes this coordination possible, because you can call out your death timer and coordinate your return with nearby teammates.
| Coordination Pattern | When to Use | Risk Level |
|---|---|---|
| Staggered deaths | Holding a defensive position | Low |
| Simultaneous respawn | Coordinated push on the zone | High |
| Solo scout deaths | Gathering intel on enemy positions | Medium |
| Vehicle-assisted return | Long-distance repositioning | Low |
| Budget kit rotation | Cash preservation under pressure | Medium |
The three-team dynamic adds another layer to this coordination, because you are not just competing against one enemy team but managing two rival factions. This means a squad that dies at the wrong moment can lose the zone to either of the other teams, and the respawn timing that works against one opponent may leave you exposed to the other. Teams that communicate effectively can exploit this by timing their deaths to bait one team into a fight while the other team captures the zone.
Common Respawn Mistakes and How to Avoid Them
Even experienced players make mistakes with the respawn system, and recognizing these patterns can help you improve faster. The most common error is rebuying an expensive loadout immediately after every death without checking your cash balance, which leads to a downward spiral where you can no longer afford the gear you want. Another frequent mistake is returning to the fight alone instead of waiting for squadmates, which feeds the enemy team kills and gives them free cash from the Hot Zone.
The solution is to treat every death as a strategic pause rather than a frustration. Use the respawn timer to check your cash, plan your next loadout, and communicate with your squad about where you will re-enter the fight. Players who master this mindset find that their death rate actually decreases, because they are making deliberate choices about when and where to engage rather than sprinting back to the same spot and dying again.
Frequently Asked Questions
How long is the respawn timer in WARDOGS?
The base respawn timer is a fixed countdown that applies to all players, though the exact duration can vary based on match conditions and server settings. While waiting, you can review your cash balance and plan your next loadout purchase. Community reports suggest the timer is short enough to keep the action flowing but long enough to punish careless deaths.
Does dying in WARDOGS make you lose your cash?
No, dying in WARDOGS never touches your cash. Your bank balance persists across deaths and matches, so the real penalty is paying for a fresh loadout and waiting out the respawn timer. Earn cash back through revives, transports, and Hot Zone captures to offset those costs.
Can squadmates revive you before you fully die?
Yes, WARDOGS includes a revive mechanic that lets teammates bring you back before you enter the full respawn timer. Successfully reviving a teammate earns you cash and saves them the cost of a new loadout. This creates a strong incentive for squads to stay close and prioritize revives over individual survival.
How does the Hot Zone affect respawn strategy?
The Hot Zone pays double cash for players inside it, which means dying during this window is especially costly because you lose earning potential while on the respawn screen. Players should be more conservative during Hot Zone rotations and prioritize staying alive to maximize their cash income. Coordinated squads can also time their respawns to return during these windows.
What is the best loadout to buy after respawning?
If you have surplus cash, prioritize a vehicle to rush the Hot Zone for double cash, or a heavier weapon for close matches. Low on funds? Buy a basic rifle kit to rejoin the fight immediately. Your $10,000 starting balance persists, so spend wisely.