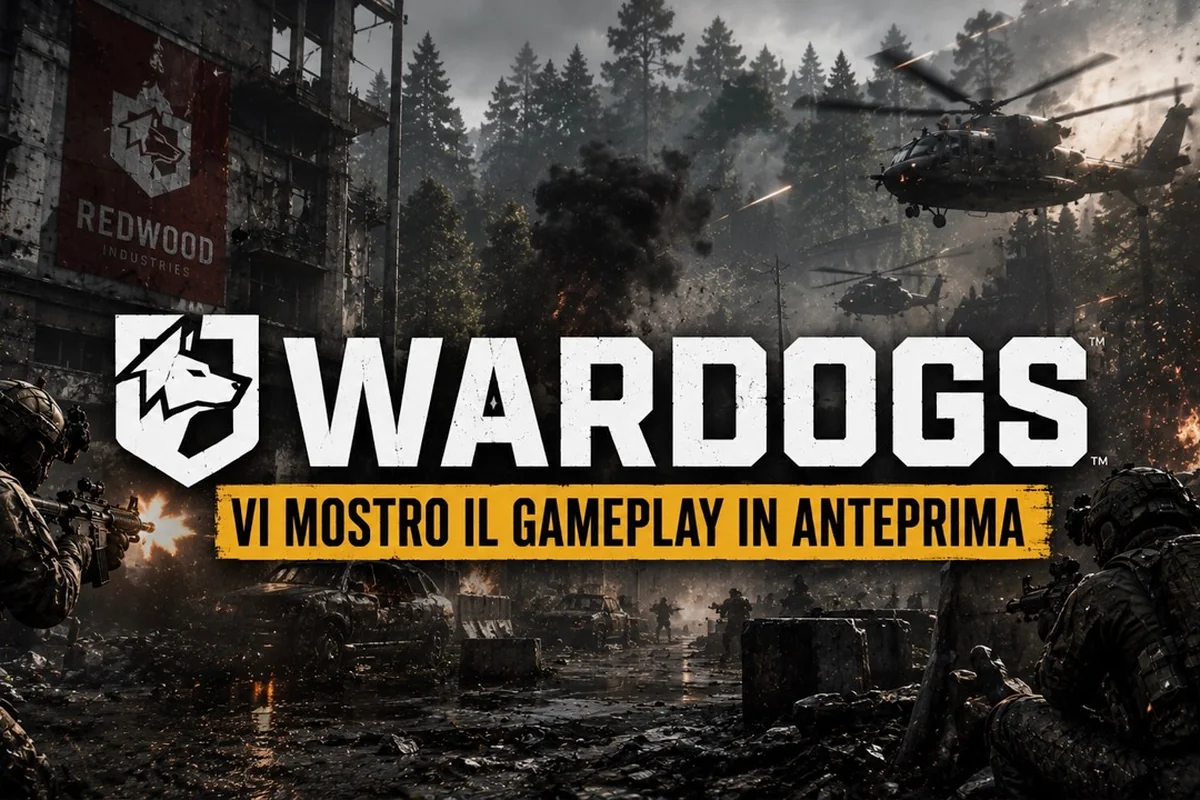
Most shooters treat support roles as an afterthought, but WARDOGS flips that assumption by rewarding every teamplay action with persistent cash. Reviving a downed squadmate, ferrying troops to a contested zone, or fortifying a chokepoint all pay out directly, which means mastering the WARDOGS medic tips and the surrounding support classes is one of the fastest ways to build wealth while carrying your team. Because every player starts with $10,000 and cash persists across matches, the medic, engineer, builder, and pilot roles are not just altruistic choices — they are genuine economic engines.
The official WARDOGS page on Steam explains that teamplay actions like reviving and transporting squadmates earn cash, and the Hot Zone pays double. That single mechanic changes how you should approach every match, because a medic who consistently revives teammates often out-earns a fragger holding a single sightline. This guide breaks down each support role, the loadouts that maximize their efficiency, and the positioning habits that separate a useful teammate from a liability.
The Support Class Economy and Why It Matters
The WARDOGS support ecosystem revolves around a simple loop: spend cash on gear, perform teamplay actions, earn more cash, and reinvest. Unlike traditional class-based shooters where your role is locked for an entire match, WARDOGS lets you purchase a custom loadout each life. That flexibility means you can start a life as a medic, die, and respawn as a builder if the tactical situation demands it. Understanding when to switch roles is the first skill every support player must develop.
The persistent cash economy rewards consistency over flashy plays. According to community reports, a focused medic can generate anywhere from $2,000 to $4,000 per match purely through revives and objective support, assuming they stay alive long enough to chain multiple revives in a single life. That income compounds because the cash persists across matches, allowing you to afford better gear in subsequent rounds. The WARDOGS class guide covers the full roster, but the support roles specifically benefit from this economy because their gear is cheaper than heavy weaponry.
Support players also generate value through the Hot Zone multiplier. The Hot Zone pays double cash for any action performed inside it, which means a medic reviving a teammate in the Hot Zone earns twice the normal reward. Builders placing sandbags in the Hot Zone generate double income per structure. Pilots dropping reinforcements into the Hot Zone earn double transport fees. This creates a natural synergy where support classes are incentivized to operate in the most dangerous parts of the map, which is exactly where their abilities are needed most.
The three-team format adds another layer of strategic depth. With three factions fighting over dynamic objective zones, the support player who can read which team is winning the current engagement and position accordingly will always have targets for revives, structures to build, or teammates to transport. The first match guide covers the basics of reading match flow, but support players should pay special attention to which team controls the Hot Zone at any given moment.
WARDOGS Medic Tips: Healing, Reviving, and Positioning
The medic role in WARDOGS is less about healing damage over time and more about reviving downed teammates and keeping the squad fighting. Because the game uses a life-based system where players respawn after death, the medic's primary value is preventing those respawns from happening in the first place. Every revive you pull off saves your team the time and cash cost of a respawn, which directly translates to map control and economic advantage.
Core Medic Loadout and Gear Choices
Your loadout should prioritize survivability and mobility over raw firepower. A medic who dies while attempting a revive is worthless, so gear that lets you close distance and survive contact is essential. The community consensus favors a compact SMG or shotgun for close-quarters defense, paired with smoke grenades to obscure enemy sightlines while you work.
| Gear Slot | Recommended Option | Why It Works |
|---|---|---|
| Primary Weapon | SMG or Shotgun | Short-range stopping power for self-defense |
| Secondary | Pistol with high mag capacity | Reliable backup when primary runs dry |
| Utility | Smoke grenades (2-3) | Cover for revives and movement |
| Medical | Revive kit or medkit | Core tool for the medic role |
| Armor | Light armor | Keeps you mobile without sacrificing too much protection |
The smoke grenade is arguably the most important piece of the medic loadout. According to player experience, a well-placed smoke screen can turn a suicidal revive into a routine operation. Pop smoke on the downed teammate, wait two seconds for the cloud to fully deploy, then move in. Most enemies will hesitate to push through smoke because they cannot confirm their shots, giving you a precious window to complete the revive and retreat.
Revive Positioning and Priority
Not every revive is worth attempting. The best WARDOGS medic tips emphasize positional awareness over heroic plays. Before moving toward a downed teammate, check the surrounding area for enemy activity. If the teammate went down in an open field with multiple enemies watching, the revive is probably not worth the risk. If they went down behind cover or in a building, the revive is often safe to attempt.
| Scenario | Revive Priority | Reasoning |
|---|---|---|
| Teammate down in Hot Zone | High | Double cash reward + objective control |
| Teammate down behind cover | High | Low risk, high value |
| Teammate down in open field | Low | High risk of dying during revive |
| Teammate down under active fire | Medium | Wait for smoke or suppression |
| Teammate down near enemy spawn | Very Low | Enemy reinforcements likely |
The Hot Zone revive deserves special attention because it pays double cash. If you can safely pull off a revive inside the Hot Zone, you earn twice the normal reward while also keeping your team's presence in the objective area. This creates a positive feedback loop where successful revives fund better gear, which enables more aggressive positioning, which generates more revive opportunities.
Medic Movement and Survival Habits
Medics should never lead the charge. Your job is to stay one step behind the frontline, close enough to react quickly but far enough to avoid being the first target. Use buildings, walls, and natural terrain to break line of sight as you move. The zigzag movement pattern — moving diagonally toward cover, pausing, then moving again — makes you a much harder target for enemy snipers.
WARDOGS Engineer Guide: Repair, Demolition, and Utility
The engineer class in WARDOGS serves two distinct purposes: keeping friendly vehicles operational and destroying enemy fortifications. Because vehicles are a significant cash investment, an engineer who can repair a damaged tank or helicopter saves the team a substantial replacement cost. The repair tool is your primary income generator, but demolition charges and anti-vehicle weapons round out the kit.
Engineer Loadout and Equipment Breakdown
Engineers need to be flexible. One life might require you to repair a friendly tank under fire, while the next might see you planting charges on an enemy forward operating base. Your loadout should reflect that versatility, with a primary weapon that works at medium range and utility items that handle both repair and demolition.
| Equipment | Primary Use | Secondary Use |
|---|---|---|
| Repair Tool | Vehicle repair | Structural repair |
| Demolition Charges | Enemy structure destruction | Vehicle damage |
| Anti-Vehicle Launcher | Armored vehicle threat | Structure breach |
| SMG or Carbine | Self-defense | Medium-range engagement |
| Ammo Box | Resupply teammates | Sustained operations |
The repair tool is the engineer's bread and butter. According to community data, a fully repaired tank can save your team $8,000 to $12,000 in replacement costs, depending on the vehicle class. That economic impact is massive, especially in longer matches where vehicle attrition becomes a deciding factor. Position yourself behind the vehicle's armor profile while repairing, and use smoke grenades to cover your work if the enemy starts targeting you.
Engineer Positioning and Repair Priorities
Not all repairs are equally urgent. A tank at 10% health that is actively engaged with the enemy needs immediate attention, while a transport truck at 60% health sitting in a safe staging area can wait. Prioritize repairs based on the vehicle's current role and threat level. The battlefield repair priority system used by experienced engineers ranks vehicles by their impact on the current fight.
| Vehicle State | Repair Priority | Action |
|---|---|---|
| Actively fighting, low health | Critical | Repair immediately, use smoke |
| Actively fighting, medium health | High | Repair between enemy reloads |
| Moving to new position | Medium | Repair while moving if safe |
| Stationary in safe area | Low | Repair when convenient |
| Abandoned or destroyed | None | Salvage or move on |
The demolition role is equally important. Enemy builders can create formidable defensive positions, and the engineer is often the only class equipped to break them. Plant demolition charges on structural weak points, then detonate from a safe distance. According to player reports, two well-placed charges can collapse a sandbag wall that would otherwise require sustained small-arms fire to breach.
WARDOGS Builder Class: Fortification and Defensive Construction
The builder class transforms the battlefield by creating defensive structures that control movement and protect objectives. While the engineer focuses on vehicles and demolition, the builder is the field fortification specialist who shapes the terrain to your team's advantage. Every sandbag, barricade, and watchtower you place changes the geometry of the fight.
Builder Loadout and Structure Selection
Builders need to balance construction speed with combat readiness. The construction tool is your primary equipment, but you still need a weapon for self-defense. Most experienced builders carry a mid-range rifle or LMG that allows them to contribute fire while their structures do the heavy lifting.
| Structure Type | Cash Cost | Build Time | Best Use |
|---|---|---|---|
| Sandbag Wall | Low | Fast | Cover and chokepoint blocking |
| Barbed Wire | Low | Fast | Area denial and slowing enemies |
| Watchtower | Medium | Medium | Elevated sightlines and sniping |
| Ammo Cache | Medium | Medium | Resupply point for teammates |
| Forward Operating Base | High | Slow | Spawn point and command center |
The sandbag wall is the foundation of most defensive setups. Place them to create firing lanes that funnel enemies into kill zones, or use them to block off flanking routes that would otherwise expose your team. According to community testing, a well-placed sandbag wall can reduce enemy assault effectiveness by 30-40% simply by forcing them to take the long way around.
Builder Positioning and Defensive Layout Strategy
The best builder tips emphasize defense in depth rather than a single strongpoint. Create multiple layers of defense so that if the enemy breaches the first line, they still face additional obstacles before reaching the objective. This staggered approach forces attackers to spend more time and resources breaking through, which gives your team more opportunities to respond.
| Defense Layer | Structure Mix | Purpose |
|---|---|---|
| Outer Perimeter | Sandbags + Barbed Wire | Slow enemy approach |
| Mid Defense | Watchtower + Sandbags | Engage and suppress attackers |
| Inner Core | Ammo Cache + FOB | Sustain defense and respawn |
| Flank Protection | Barbed Wire + Sandbags | Block alternative routes |
The forward operating base is the most powerful structure in the builder's arsenal because it creates a spawn point for your team. Placing an FOB in a tactically advantageous position can completely change the flow of a match, allowing your team to pressure objectives without long respawn walks. However, the high cash cost means you should only build one when the position is secure and the strategic value justifies the investment.
WARDOGS Pilot Class: Transport, Recon, and Air Support
The pilot class operates the aircraft that give WARDOGS its vertical dimension. While ground vehicles handle most of the fighting, helicopters provide rapid transport, aerial recon, and fire support that no ground unit can match. The pilot's primary income source is transporting teammates, but skilled pilots can also contribute directly to combat.
Pilot Loadout and Aircraft Selection
Pilots face a unique challenge: they need to be effective both in the cockpit and on the ground. Your loadout should reflect that dual role, with a primary weapon that works in close quarters (for defending your aircraft on landing) and gear that supports your flight operations.
| Aircraft Type | Capacity | Best Use | Cash Cost |
|---|---|---|---|
| Scout Helicopter | 2-3 | Fast transport and recon | Low |
| Transport Helicopter | 6-8 | Squad deployment | Medium |
| Attack Helicopter | 2 | Fire support and escort | High |
The scout helicopter is the most cost-effective aircraft for new pilots because it is cheap, fast, and easy to handle. According to player experience, a scout helicopter can earn its cost back in two or three successful transport runs, especially if you are dropping teammates into the Hot Zone for double cash. The transport helicopter is better for larger squad deployments but requires more skill to land safely in contested areas.
Pilot Positioning and Flight Routes
The best WARDOGS pilot guide advice centers on route planning and landing zone selection. Never fly directly over enemy-controlled territory unless you have no alternative. Instead, use terrain features like hills and buildings to mask your approach, and always have an escape route planned before you commit to a landing.
| Flight Phase | Key Action | Risk Level |
|---|---|---|
| Takeoff | Clear the area, gain altitude quickly | Low |
| Transit | Use terrain masking, avoid open airspace | Medium |
| Approach | Slow down, identify landing zone | High |
| Landing | Touch down briefly, unload fast | High |
| Departure | Take off immediately, gain altitude | Medium |
The Hot Zone drop is the highest-value transport mission because you earn double cash for delivering teammates into the objective area. However, it is also the most dangerous because the Hot Zone attracts enemy fire. Coordinate with your squad before attempting a Hot Zone drop, and have them ready to provide covering fire while you land and unload.
Support Class Synergy and Team Coordination
The medic, engineer, builder, and pilot roles are not isolated silos — they work best when coordinated. A builder who fortifies a position creates a safe zone where medics can revive teammates and engineers can repair vehicles. A pilot who transports builders to a strategic location enables rapid fortification of key objectives. Understanding these synergies is what separates a good support player from a great one.
The support class coordination matrix below shows how each role amplifies the others:
| Primary Role | Amplifies | How |
|---|---|---|
| Medic | Builder | Keeps builders alive while constructing |
| Medic | Engineer | Revives engineers during vehicle repairs |
| Engineer | Pilot | Repairs aircraft between missions |
| Engineer | Builder | Demolishes enemy structures blocking builder sites |
| Builder | Medic | Creates safe zones for revives |
| Builder | Pilot | Builds landing pads and FOBs for pilot operations |
| Pilot | All | Transports support players to key positions |
The selfish teamwork concept highlighted in the PCGamesN WARDOGS impressions piece captures this perfectly — helping teammates also profits the player, because every teamplay action earns cash. This design philosophy means the most effective support players are not martyrs sacrificing their own progress for the team. They are rational actors who recognize that supporting the team is the fastest path to personal wealth and progression.
Communication is the glue that holds support roles together. Use proximity voice chat to call out revive locations, repair needs, and landing zones. A pilot who announces their approach gives the squad time to prepare for pickup, and a medic who calls for smoke lets the team know where to focus their covering fire. The vehicle tactics guide covers ground vehicle coordination, but the same principles apply to aircraft.
Frequently Asked Questions
What is the best WARDOGS medic loadout for beginners?
A compact SMG, smoke grenades, and a revive kit form the most forgiving medic loadout. The SMG handles close-range threats, smoke covers your revives, and the revive kit is your core tool. Light armor keeps you mobile. Avoid heavy weapons that slow you down and make you a bigger target.
How do I earn cash as a WARDOGS engineer?
Repairing damaged vehicles is the engineer's primary income source, with each full repair saving your team thousands in replacement costs. Demolition charges also earn cash when they destroy enemy structures. Focus on keeping friendly vehicles operational and breaking enemy fortifications to maximize your earnings.
What structures should I build first as a WARDOGS builder?
Start with sandbag walls because they are cheap, fast to build, and immediately useful for blocking enemy movement. Add barbed wire to slow enemy advances, then upgrade to watchtowers for sightline control. Only build a forward operating base when you have secured a position worth defending.
Is the WARDOGS pilot class worth the cash investment?
Yes, because transport runs earn cash for every teammate you deliver, and Hot Zone drops pay double. A scout helicopter can pay for itself in two or three successful runs. The risk is higher than ground roles, but skilled pilots generate substantial income while providing unmatched mobility for their squad.
Can I switch between support roles during a match?
Yes. WARDOGS lets you rebuy a loadout every life, so you can start as a medic to hold a Hot Zone, then respawn as an engineer to repair vehicles or a builder to fortify a chokepoint. Cash persists, so switching costs nothing but your current life—adapt to the objective.