
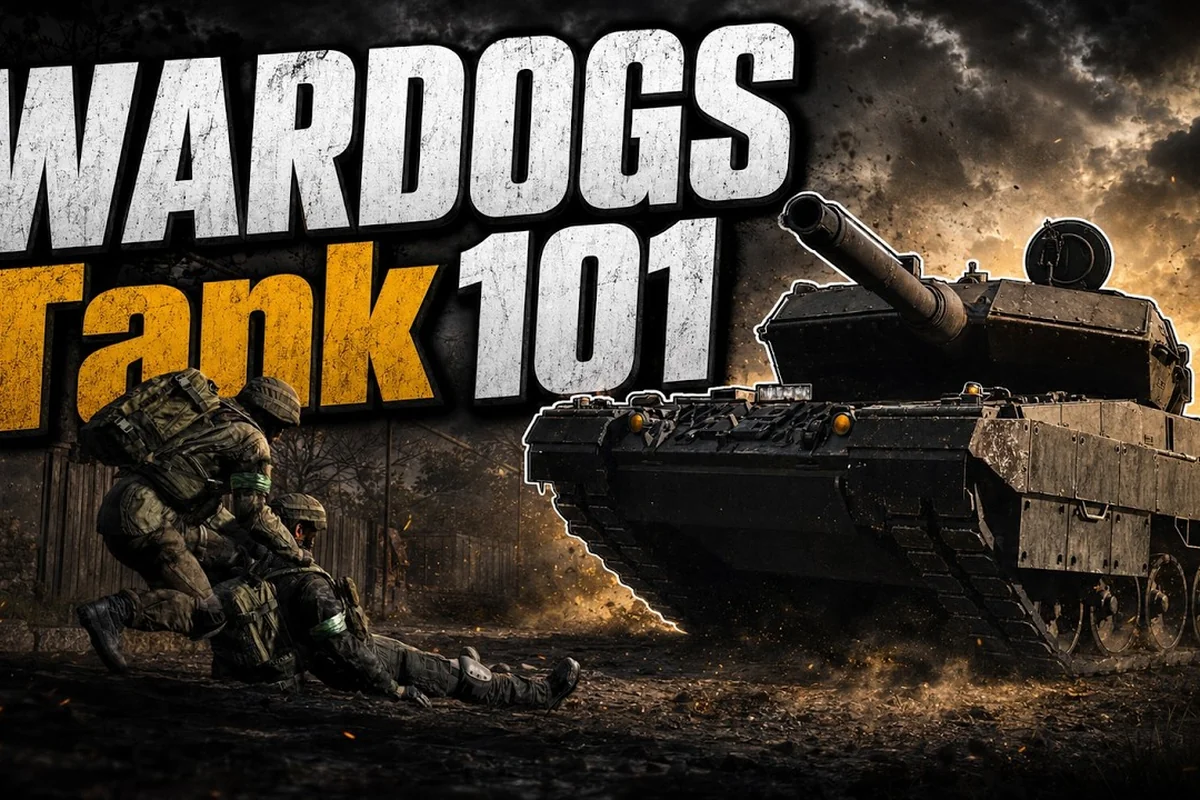
WARDOGS armored warfare isn't just about who shoots first—it's about understanding the vehicle meta, mastering the controls, and knowing exactly when to commit your tank or helicopter to a fight. With three teams of up to 100 players battling over a randomized 2x2km control zone, the vehicles you bring and how you pilot them can swing a match faster than any infantry push. Because the game's persistent cash economy ties directly into vehicle spawns, every tank you lose and every helicopter you crash has a real cost. Get the fundamentals right, and you'll dominate the armored fights that decide control of the zone.
Breaking Down the WARDOGS Vehicle Meta and Ground Vehicle Picks
The current WARDOGS vehicle meta revolves around a simple truth: ground vehicles win the zone, while helicopters win the space around it. According to the official WARDOGS Steam page, players can ferry supplies by helicopter or man artillery tanks to rain destruction, with full release plans adding fighter jets. That means the vehicles available at Early Access launch—jeeps, trucks, armored vehicles, and helicopters—each fill a specific role in the combined arms sandbox.
When you're picking your ground vehicles, think about what your squad actually needs rather than what looks impressive on paper. The jeep excels at rapid recon and hit-and-run harassment, letting you scout enemy positions and disengage before the armor arrives. The truck is your logistics backbone, hauling supplies and teammates to contested points while keeping the cash economy flowing. The armored vehicles—including the artillery tanks—are the heavy hitters that break defensive lines and punish clustered infantry.
| Vehicle Type | Primary Role | Best Use Case | Cash Cost Tier |
|---|---|---|---|
| Jeep | Recon / Flanking | Scouting enemy positions, capping open points | Low |
| Truck | Logistics / Support | Ferrying squads, resupplying forward positions | Low-Mid |
| Armored Vehicle | Breakthrough / Fire Support | Pushing fortified zones, engaging other vehicles | Mid-High |
| Artillery Tank | Area Denial / Siege | Bombarding control zones, destroying buildings | High |
| Helicopter | Air Superiority / Insertion | Rapid deployment, supply drops, engaging ground targets | High |
The vehicle meta shifts depending on which phase of the match you're in. Early on, jeeps and trucks dominate because they're cheap and get your team positioned before the first major engagement. Mid-match, the armored vehicles roll out to contest the hot zone. Late match, the artillery tanks and helicopters decide who holds the final push. If you're trying to understand the full roster and how each machine performs, the WARDOGS vehicles list breaks down every option with its strengths and weaknesses.
How the Cash Economy Shapes Your Vehicle Picks
Every vehicle spawn pulls from the same persistent cash pool that funds your loadouts, which means vehicle economy management is a core skill. Community reports indicate that wasting a tank on a solo flanking mission is the fastest way to drain your squad's resources. Instead, coordinate vehicle purchases with your team's overall strategy—if you're running a defensive setup, invest in trucks to keep supplies flowing; if you're pushing hard, save for an armored breakthrough.
Mastering WARDOGS Vehicle Controls for Ground and Air
Getting comfortable with WARDOGS vehicle controls is the difference between a smooth operation and a chaotic mess. The developers at BULKHEAD have implemented real-world flight models for helicopters, according to the official DEVLOG, which means you can't just hold the throttle and hope for the best. Helicopter controls demand practice, especially when you're trying to land on a rooftop or extract a squad under fire.
For ground vehicles, the controls are more intuitive but still require attention to momentum and terrain. Tanks in particular handle like the heavy machines they are—turning radius matters, and slamming into a wall at full speed will leave you vulnerable to infantry with rocket launchers. The key is to plan your approach before you commit, using the terrain to shield your flanks while you line up shots on enemy armor.
| Control Action | Ground Vehicles | Helicopters |
|---|---|---|
| Throttle / Brake | W/S or triggers | Collective up/down |
| Steering | A/D or stick | Cyclic pitch for direction |
| Turret / Gunner | Mouse aim | Nose-mounted weapons |
| Boost / Afterburner | Shift (if equipped) | Throttle increase |
| Exit Vehicle | E or hold button | E or hold button |
The learning curve for vehicle controls is steepest in the helicopter, because you're managing three axes of movement simultaneously. Veteran players recommend spending time in a low-traffic area of the map practicing hover stability before you attempt combat insertions. Once you can hold a stable hover while tracking a target, you're ready to contribute to the fight. For a deeper dive into the flight model and rotorcraft tactics, the transport helicopter guide covers the essential maneuvers.
Positioning Your Vehicle for Maximum Impact
Positioning is everything in armored warfare. A tank sitting in an open field is a target; a tank hull-down behind a ridge is a fortress. Hull-down positioning lets you expose only your turret to enemy fire, dramatically increasing your survivability. For helicopters, the equivalent is using terrain masking—staying low behind hills and buildings until you're ready to pop up and engage.
Building the Best Tank Loadout for WARDOGS Armored Warfare
The best tank loadout in WARDOGS isn't a single fixed build—it's a combination of vehicle choice, weapon systems, and supporting infantry that matches your squad's playstyle. Because vehicles are part of the loadout economy, you're not just buying a tank; you're committing a significant chunk of your team's cash to that single asset. That means the tank loadout needs to justify its cost through consistent zone control and destruction.
When you're building your tank setup, consider the main gun as your primary tool. Artillery tanks excel at indirect fire, lobbing shells over obstacles to bombard enemy positions. Direct-fire tanks are better for engaging other vehicles and fortified infantry. The choice comes down to whether your squad needs area denial or precision destruction. Pair your tank with infantry support—a lone tank is vulnerable to close-range attacks, but a tank with a rifle squad screening its flanks becomes a mobile fortress.
| Loadout Component | Defensive Option | Offensive Option | Balanced Pick |
|---|---|---|---|
| Main Gun | High-arc artillery | Direct-fire cannon | Versatile hybrid |
| Secondary Weapon | Anti-infantry MG | Anti-vehicle missiles | Mixed loadout |
| Armor Package | Reinforced plating | Speed boost | Standard issue |
| Crew Setup | Extra gunner | Faster reload | Balanced crew |
The vehicle meta for tanks currently favors the artillery variant for zone control, because the randomized control zone means you're often engaging enemies behind cover. Community testing suggests that a well-placed artillery barrage can clear a defensive position before your infantry even reaches it. However, that power comes with a trade-off—artillery tanks are slower and more vulnerable to flanking maneuvers. If you're interested in how tanks stack up against other vehicles in the current ranking, the WARDOGS vehicle tier list provides a full breakdown.
Coordinating Tank Loadouts with Your Squad
Your tank loadout only works if your squad supports it. That means designating a spotter who can call out targets and adjust your fire, a repair crew to keep you operational under fire, and infantry screens to prevent close-range ambushes. When all these elements work together, a single tank can hold a control zone against multiple enemy pushes.
The Best Helicopter Strategy for Zone Control and Supply Drops
The best helicopter strategy in WARDOGS isn't about racking up kills—it's about zone control and logistics. According to the official Team17 publisher page, helicopters can ferry supplies and insert troops directly into the fight, which makes them the most versatile asset in the game. A well-flown helicopter can drop a squad onto a contested point, resupply a forward position, or extract a high-value teammate before the enemy can secure the kill.
Your approach to helicopter play should change based on the match phase. Early on, use the helicopter for rapid insertion—getting your squad to the control zone before the enemy can establish a defensive perimeter. Mid-match, focus on supply runs and casualty evacuation, keeping your team's momentum going. Late match, the helicopter becomes a gunship, using its mounted weapons to suppress enemy defenders and clear the zone for your infantry.
| Helicopter Strategy | When to Use | Key Objective | Risk Level |
|---|---|---|---|
| Rapid Insertion | Match start | Cap the zone first | Medium |
| Supply Runs | Mid-match | Keep forward squads stocked | Low |
| Casualty Evacuation | Under fire | Extract high-value teammates | High |
| Gunship Support | Late match | Suppress defenders, clear zone | Very High |
| Flanking Insertion | Any phase | Drop behind enemy lines | High |
The helicopter strategy that wins fights is the one that adapts to the situation rather than sticking to a single playbook. If the enemy has strong anti-air presence, you need to stay low and use terrain masking. If they're ignoring the skies, you can dominate the match with aggressive gunship runs. The key is reading the battlefield and adjusting your approach accordingly.
Anti-Air Awareness and Helicopter Survival
Surviving in a helicopter requires constant awareness of anti-air threats. Rocket launchers, mounted machine guns, and even small arms fire can bring you down if you're not careful. Veteran pilots recommend always having an escape route planned before you commit to an engagement—if you're hovering in one spot for more than a few seconds, you're a target.
Practical WARDOGS Vehicle Combat Tips for Mixed Armor Battles
When tanks and helicopters share the battlefield, the combined arms approach wins matches. Ground vehicles control the zone and provide stable firepower, while helicopters provide mobility and overwatch. The trick is coordinating these assets so they complement each other rather than getting in each other's way. A helicopter hovering directly over a friendly tank is a liability—it blocks line of sight and draws fire onto both assets.
Here are the practical vehicle combat tips that experienced squads use to dominate armored warfare:
-
Call out vehicle positions on comms so your team knows where the enemy armor is pushing.
-
Use smoke screens to break line of sight when you need to reposition or retreat under fire.
-
Pair a tank with a helicopter for a devastating one-two punch—the tank draws attention while the helicopter strikes from an unexpected angle.
-
Never leave a vehicle unattended in a hot zone; a stolen tank or helicopter is a massive swing in the enemy's favor.
-
Budget your vehicle purchases across the match rather than dumping all your cash into one big asset early.
The vehicle meta rewards squads that treat their armor as a shared resource rather than a personal toy. When you coordinate your tank and helicopter usage with your infantry, you create a combined arms force that's much harder to counter than any single unit. For a complete breakdown of how vehicles interact with the broader combat sandbox, the vehicle warfare guide covers the tactical framework in detail.
Reading the Battlefield for Vehicle Engagements
The best vehicle operators are the ones who can read the battlefield and predict where the next engagement will happen. Because the control zone randomizes each match, you need to adapt your vehicle positioning to the terrain. Open fields favor tanks and long-range engagements; urban areas favor helicopters and infantry. Understanding these dynamics lets you position your armor where it can have the most impact.
Common Vehicle Mistakes That Cost Matches in WARDOGS
Even experienced players make vehicle mistakes that cost their team the match. The most common error is overcommitting—driving a tank into a position you can't escape from, or hovering a helicopter in a hot zone too long. Another frequent mistake is ignoring the vehicle economy, spending all your team's cash on a single asset and leaving nothing for loadouts or repairs.
| Mistake | Why It Hurts | How to Avoid It |
|---|---|---|
| Overcommitting to a push | Loses the vehicle and the cash invested | Always have an escape route |
| Ignoring anti-air threats | Helicopter gets shot down quickly | Scout before you commit |
| Poor positioning | Tank gets flanked and destroyed | Use hull-down positions |
| Wasting vehicle cash | Team lacks funds for loadouts | Coordinate purchases |
| No infantry support | Vehicle gets swarmed | Always pair with rifle squads |
The best tank loadout and the best helicopter strategy both mean nothing if you're making these fundamental errors. Take the time to practice your controls, learn the map layouts, and coordinate with your squad. According to community reports, squads that treat vehicles as a team asset rather than a personal toy see significantly higher win rates in armored engagements.
Frequently Asked Questions
What is the best tank loadout in WARDOGS?
The best tank loadout pairs an artillery main gun with anti-infantry secondary weapons and reinforced armor. This combination lets you bombard enemy positions while defending against close-range threats. Coordinate with a spotter for indirect fire and keep infantry nearby to screen your flanks from ambushes.
How do helicopter controls work in WARDOGS?
Helicopter controls use a real-world flight model, meaning you manage collective, cyclic pitch, and throttle separately. Practice hovering in low-traffic areas before attempting combat insertions. The learning curve is steep, but mastering stable hover and terrain masking makes you a formidable asset in the WARDOGS armored warfare meta.
Which ground vehicles should I prioritize?
Jeeps and trucks are the best early-game picks because they're cheap and get your team positioned quickly. Save your cash for armored vehicles and tanks once the control zone is contested. The vehicle meta rewards flexible squads that adapt their vehicle choices to the match phase.
How do I survive anti-air fire in a helicopter?
Stay low and use terrain masking to break line of sight with enemy gunners. Always have an escape route planned before you commit to an engagement, and never hover in one spot for more than a few seconds. Coordinate with your team to suppress anti-air positions before you enter the zone.
What is the vehicle economy in WARDOGS?
Vehicles are purchased with the same persistent cash that funds your loadouts, so every spawn has a real cost. Wasting vehicles on solo missions drains your team's resources. Coordinate purchases with your squad and budget across the match to maintain a sustainable armored force.