
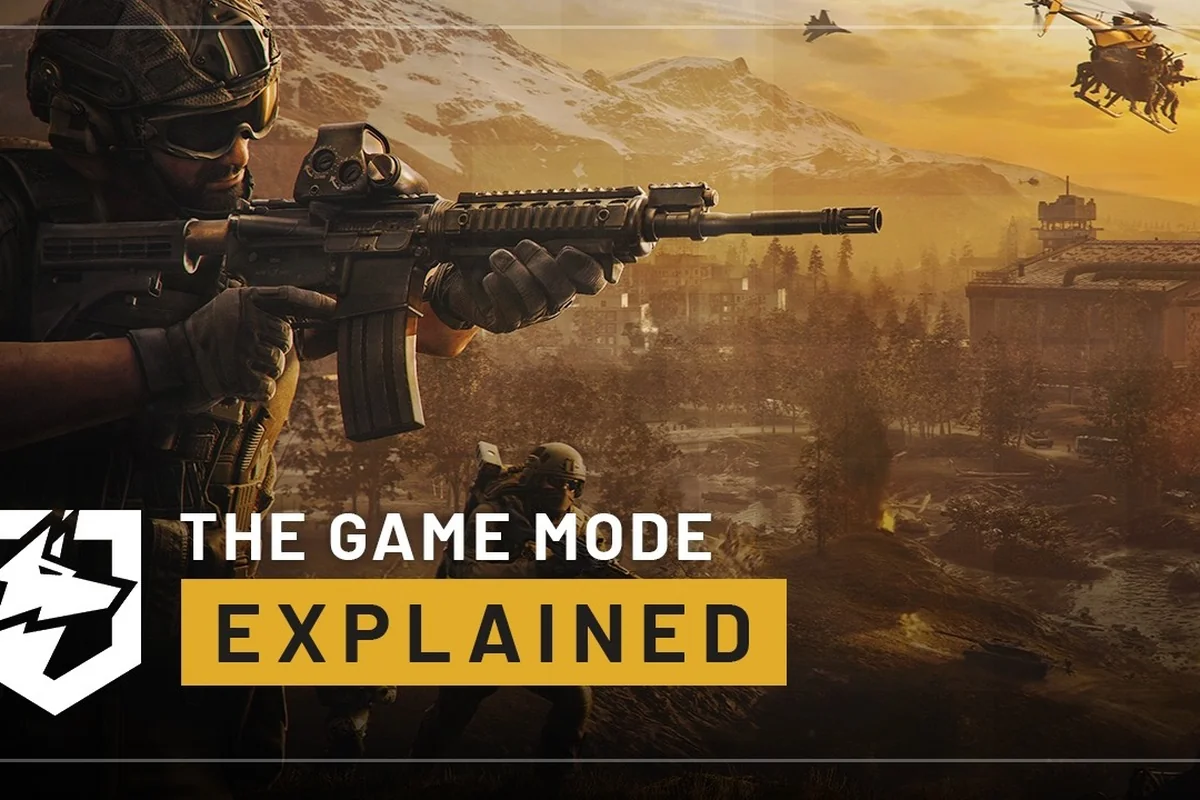
Getting your WARDOGS building placement right is the difference between holding a chokepoint for the full match and watching your forward operating base crumble in the first assault. Since the game runs on a persistent cash system where every dollar spent on construction is money you cannot use for loadouts or vehicles, understanding structure types and their associated build costs directly impacts how long you survive on the 256km² battlefield. The official WARDOGS page on Steam describes building and destruction as core mechanics on a destructible battlefield, which means every sandbag wall and watchtower you place is an investment that needs to pay off tactically.
Smart placement is not just about where you build, but also about what you build, when you build it, and how much of your starting cash you are willing to commit. This article breaks down the full range of WARDOGS structure types, their build costs, the repair mechanics that keep them alive, and the building economy decisions that separate winning squads from teams that get overrun. Whether you are fortifying a control zone for All-Out Warfare or setting up a forward operating base to lock down a flank, the principles here apply across every match.
WARDOGS building placement fundamentals
Before you place a single sandbag, you need to understand how the building system interacts with the larger tactical sandbox. WARDOGS is described as a tactical all-out warfare FPS where one hundred players split across three teams fight over a control zone, and the randomized 2x2km zone means you never know exactly where the fighting will concentrate until the match starts. This uncertainty makes WARDOGS building placement a reactive skill rather than a static routine, because the structures you place early might become irrelevant if the zone shifts away from your position.
The core principle is that every structure occupies physical space on the destructible battlefield and can be destroyed by enemy fire, rocket launchers, or tank shells. According to the official Team17 game page, players can build upon and fortify key map locations for tactical advantage, and the world reacts to player presence. This means your buildings are not permanent fixtures; they are temporary assets that need to earn their keep before they get leveled.
When you are deciding on placement, consider these factors: the building's line-of-sight coverage versus its vulnerability to enemy artillery, the proximity to your resource nodes for efficient collection, and whether the structure's repair cost justifies holding that position against a push. A bunker placed on a choke point may block enemy armor but can also trap your own units if you lack a secondary exit route, so weigh defensive value against tactical flexibility before committing your build cost.
-
Line of sight: Place structures where they block enemy sightlines into your defensive position, not in open fields where they just give the enemy cover.
-
Chokepoint coverage: The best placements narrow the approach lanes that enemies must cross, forcing them into kill zones.
-
Retreat paths: Always leave yourself a way out, because a building that traps you inside is worse than no building at all.
-
Zone proximity: Since the control zone is randomized each match, structures placed too far from the action become wasted cash.
-
Team coordination: Coordinate with squadmates so your structures complement each other rather than overlapping uselessly.
The destructible environment means that even perfect placement can be undone by a tank shell or a well-aimed rocket, which is why you need to think about redundancy and repair before you ever place the first wall. A single 120mm HE round from a Tier 3 armored vehicle can delete a fully upgraded wall section in one hit, so critical structures like your ammo cache and repair bay should never rely on a single defensive layer. Instead, stagger your fortifications with a 2-tile gap between outer and inner walls, ensuring that a breach in the first line doesn't expose your core buildings to direct fire. This spacing also gives your engineers a safe corridor to move in for emergency WARDOGS repair buildings work, allowing them to patch damaged sections without standing in the open line of sight of enemy gunners.
WARDOGS structure types and their tactical roles
The building system in WARDOGS offers a range of structure types, each designed for a specific tactical purpose. Understanding what each structure does and when to deploy it is essential for efficient WARDOGS building placement, because building the wrong thing at the wrong time wastes cash that could have gone toward a better loadout or a vehicle.
Defensive cover structures
These are your bread-and-butter buildings for holding ground. Sandbag walls provide basic cover against small arms fire, while reinforced barriers offer better protection but cost more. The tradeoff is straightforward: cheaper walls go up fast but break faster, while expensive barriers hold longer but eat into your building economy.
Observation and support structures
Watchtowers give you elevated sightlines over the surrounding area, which is invaluable for spotting enemy movements before they reach your position. Ammo crates and supply depots keep your team fighting longer without resupplying at the main base, but they are high-value targets that enemies will prioritize for destruction.
Forward operating bases
The forward operating base (FOB) is the centerpiece of any serious defensive setup. It provides a spawn point for your team and acts as a hub for other structures. Placing a FOB in the right spot can completely change the flow of a match, but losing one is a catastrophic blow to your team's momentum.
Forward operating bases rely on a mix of defensive structures, each with distinct trade-offs in build cost, footprint, and repair demands. For example, the standard bunker offers high HP per credit but requires a dedicated repair crew once its armor drops below 50%, while the cheaper sandbag wall can be rebuilt faster but leaves your WARDOGS units exposed to splash damage from artillery. Understanding these characteristics—such as the repair cost multiplier for damaged emplacements versus full replacement—directly shapes how you allocate your building economy across a forward line. Prioritize structures that match your available repair capacity, not just raw defensive stats.
| Structure Type | Primary Role | Build Speed | Durability | Best Use Case |
|---|---|---|---|---|
| Sandbag Wall | Small arms cover | Very Fast | Low | Quick cover during early zone fights |
| Reinforced Barrier | Heavy cover | Medium | Medium | Holding chokepoints under sustained fire |
| Watchtower | Observation | Slow | Low | Spotting enemy flanks before they push |
| Ammo Cache | Resupply | Medium | Low | Sustaining long defensive holds |
| Forward Operating Base | Spawn point | Very Slow | High | Anchoring a defensive sector |
The key insight is that structure durability scales with build time and cost, which means you cannot have everything up instantly. A balanced defensive line typically mixes cheap sandbag walls for immediate cover with reinforced barriers for the critical angles, while the FOB goes down early to establish your presence in the zone.
WARDOGS build cost and the building economy
Every structure you place has a WARDOGS build cost that comes out of your persistent cash pool. Since cash carries over between matches, overspending on buildings in one match can leave you under-equipped for the next, which is why managing your building economy is just as important as your combat performance.
The game's persistent cash system rewards long-term strategy, as noted on the BULKHEAD sandbox description page. This means the cash you save today is cash you can spend on better gear tomorrow, so wasteful building placement has consequences that extend beyond a single match.
Cost comparison across structure types
Different structures have very different price points, and knowing these numbers helps you budget effectively: a standard Light Turret costs 300 credits, while a Heavy Turret jumps to 750 credits and requires a level-2 Command Hub first. Since placement refunds only return 50% of the original build cost, misplacing an expensive structure early can cripple your WARDOGS building economy for the first two waves. Prioritize cheaper, repositionable defenses like the 150-credit Barricade during the opening phase, then commit to high-cost placements once your income stabilizes.
| Structure Type | Base Cost | Upgrade Cost | Repair Cost per 25% | Time to Build |
|---|---|---|---|---|
| Sandbag Wall | Low | None | Minimal | 3 seconds |
| Reinforced Barrier | Medium | Medium | Moderate | 8 seconds |
| Watchtower | Medium | High | Moderate | 15 seconds |
| Ammo Cache | Medium | None | Low | 10 seconds |
| Forward Operating Base | High | Very High | Expensive | 30 seconds |
The build cost curve means that a full defensive setup with a FOB, several barriers, and a watchtower can easily consume a significant portion of your starting cash. According to community reports, players who over-invest in buildings early often find themselves unable to afford competitive loadouts, which puts them at a disadvantage in direct firefights.
Budgeting strategies for different match phases
Your building economy strategy should change depending on the match phase: during the early phase, prioritize low-cost WARDOGS structure types like basic bunkers and sandbag walls to secure your perimeter before the first enemy wave, while saving your build cost for mid-game when you’ll need to transition into reinforced turrets and repair buildings to sustain prolonged sieges.
-
Early match: Focus on cheap sandbag walls and a single ammo cache to establish a foothold without draining your cash reserves.
-
Mid match: Once you have confirmed the control zone location, invest in reinforced barriers and a watchtower to lock down the approach lanes.
-
Late match: If you are holding a lead, spend on FOB upgrades and additional ammo caches to sustain a long defensive stand.
The persistent cash economy means that players who consistently make smart building decisions build up a cash advantage over time, which is why the starting cash guide emphasizes early match frugality as a foundation for late-game strength.
WARDOGS how to repair buildings effectively
Buildings take damage constantly during a match, and knowing WARDOGS how to repair buildings keeps your defensive line intact when it matters most. Repair is not automatic; you need to actively spend cash and time to restore damaged structures to full functionality.
The repair mechanic
When a structure takes damage, it shows visible wear and its health bar drops. To repair it, you approach the structure and interact with it, which begins a repair channel that consumes cash over time. The repair cost scales with the damage taken, and the process takes longer for larger structures.
The key detail is that repairing is cheaper than rebuilding, which means keeping damaged structures alive is almost always the better economic choice. A sandbag wall at 50% health costs less to repair than to replace entirely, and the same logic applies to larger structures.
Repair priorities under fire
Not all structures deserve the same repair attention. When you are under fire, you need to prioritize: your Command Center and active production buildings (Barracks, Factory, Airfield) should always come first, since losing them halts unit training and directly stalls your WARDOGS building economy. Turrets and walls, by contrast, can be sacrificed temporarily—a destroyed wall only costs build time to replace, whereas a lost production structure forces you to re-spend its full WARDOGS build cost and rebuild from scratch. In practice, this means assigning repair drones to the highest-value structure type first, then cycling them to defensive structures only after the enemy wave is cleared.
| Priority Level | Structure Type | Reasoning |
|---|---|---|
| Critical | Forward Operating Base | Losing your spawn point is catastrophic |
| High | Reinforced Barrier | These hold your main defensive line |
| Medium | Ammo Cache | Keeps your team supplied during long fights |
| Low | Sandbag Wall | Cheap enough to replace if destroyed |
| Situational | Watchtower | Only matters if you rely on its sightlines |
The repair priority list above reflects the reality that you cannot repair everything at once, especially during active combat. Focus your repair cash on the structures that keep your team alive and in the fight, and let the cheap expendable walls go if they are about to break anyway.
Repair timing and positioning
Repairing a structure leaves you vulnerable, because you are standing still and focused on the interaction rather than watching for enemies. This is why repair timing matters as much as repair priority. Wait for a lull in the fighting, or have a teammate cover you while you work on the critical structures.
According to player experience shared in community forums, the best repair windows are: after a successful core breach (when the enemy's defensive grid resets, giving you 8–10 seconds of uncontested access), immediately following a wave spawn (when AI targeting prioritizes fresh units over damaged structures), and during the 15-second lull after your opponent commits their repair drone to a decoy building. This timing matters because WARDOGS repair buildings consume 25 energy per activation, and mistimed repairs leave your structure vulnerable to the 340 DPS of late-game siege units.
-
Between enemy waves: When the enemy team is regrouping, you have a brief window to patch up your line.
-
After a successful defense: Once you have repelled an assault, repair before the next push comes.
-
During zone shifts: When the control zone moves, you get a short breather to fix up structures before the fighting resumes.
The repair economy ties directly into your overall building strategy, because every dollar spent on repairs is a dollar you cannot spend on new structures or better gear. This is why the cash economy guide recommends treating repairs as a recurring cost that needs to be budgeted for, not an emergency expense.
Advanced WARDOGS building placement strategies
Once you have mastered the basics of structure types, build costs, and repairs, you can start thinking about advanced placement strategies that give your team a real edge. These tactics come from experienced players who have spent hundreds of hours learning the nuances of the destructible battlefield.
Layered defense design
The most effective defensive setups use layers rather than a single line of structures. A layered defense forces attackers to fight through multiple obstacles, giving your team more time to react and more opportunities to engage. A typical layered setup looks like this:
-
Outer layer: Cheap sandbag walls and obstacles that slow the enemy advance and break up their formation.
-
Middle layer: Reinforced barriers and ammo caches that support your main firing positions.
-
Inner layer: The FOB and watchtower, protected by the outer layers and positioned to give your team a strong rally point.
The layered defense approach works because it forces enemies to commit resources to breaking through multiple obstacles, which gives your team more time to respond and more chances to catch attackers in crossfires. In practice, this means staggering your Reinforced Walls and Bunker placement so that a destroyed outer segment doesn't expose your Command Center directly—each layer should be offset by at least one tile to create a kill zone where your Turret and Mortar overlapping fields of fire can shred advancing units. This spacing also buys your engineers critical seconds to initiate repair buildings cycles on the first breached layer while the second line holds, effectively doubling the lifespan of your defensive grid without increasing your build cost per structure.
Placement angles and sightline control
Where you place structures relative to your firing positions matters enormously. The goal is to create sightlines that favor your team while denying the enemy clean angles on your positions. This means placing cover so that your team can shoot over or around it while enemies have to expose themselves to return fire.
Community testing suggests that offset placement is more effective than symmetrical layouts, because symmetrical defenses are easier for attackers to predict and flank. By offsetting your structures slightly, you create irregular sightlines that are harder for the enemy to read and exploit.
The FOB placement dilemma
The forward operating base is the most important structure you will place, and its position determines the entire shape of your defense. A FOB placed too far forward gets destroyed quickly, while one placed too far back provides no tactical advantage.
The ideal FOB placement balances several factors: proximity to active combat zones to minimize resupply transit time, defensibility against enemy patrol routes, and access to build-cost-efficient flat terrain that avoids the 2× material penalty for rocky or sloped ground. A forward FOB within 150 meters of a contested capture point cuts repair-building response time by nearly half, but risks exposing your structure types—like the 500-cost Ammo Cache or 1,200-cost Repair Bay—to direct artillery fire. Conversely, a rear placement behind a ridgeline protects your building economy but forces your repair crews to cross open ground under fire, often turning a 10-second fix into a 40-second casualty run. The optimal solution is a two-tier network: a cheap, sacrificial forward outpost for quick field repairs, paired with a fully upgraded main FOB in cover, ensuring you never lose your critical WARDOGS building placement investment to a single lucky mortar shell.
-
Spawn distance: Your team needs to be able to reach the fight quickly after respawning.
-
Cover availability: The FOB should be in a position where natural terrain and your structures protect it.
-
Retreat options: If the FOB comes under attack, your team needs a viable escape route.
-
Zone relevance: The FOB should be close enough to the control zone that it matters for the match objective.
According to the base building guide, the best FOB placements are typically on elevated ground with clear sightlines and multiple approach routes that your team can defend. Avoid placing FOBs in dead-end positions where a single enemy squad can bottle you up.
Adapting placement to the match flow
The best WARDOGS building placement strategies are adaptive, not static. As the match evolves and the control zone shifts, your structures need to evolve with it. This means being willing to abandon positions that are no longer relevant and redeploy your building effort to new locations.
The adaptive placement mindset is what separates good builders from great ones. Instead of building one perfect defensive line and hoping it holds, the best players constantly reassess the tactical situation and adjust their building priorities accordingly. This is especially important in All-Out Warfare mode, where the randomized control zone means the fight can move anywhere on the map at any time.
Frequently Asked Questions
What is the best WARDOGS building placement for a new player?
Start with sandbag walls and an ammo cache near the control zone, because these are cheap and provide immediate value. Focus on covering the main approach lanes that enemies are likely to use, and save your cash for a forward operating base once you understand the match flow better.
How much does it cost to repair buildings in WARDOGS?
Repair costs scale with the damage taken and the structure type, with sandbag walls being the cheapest to repair and forward operating bases the most expensive. In general, repairing a structure costs less than rebuilding it from scratch, which is why keeping damaged buildings alive is usually the better economic choice.
Which WARDOGS structure types are worth the build cost?
Reinforced barriers and the forward operating base offer the best value for their cost, because they provide durable protection and a spawn point respectively. Sandbag walls are worth it early for quick cover, while watchtowers and ammo caches are situational picks that depend on your team's needs.
Can enemies destroy my buildings permanently?
Yes, buildings can be completely destroyed by enemy fire, rocket launchers, and tank shells. Once destroyed, a structure is gone for the rest of the match, so you need to rebuild it from scratch if you want that position back. This is why repair is so important during active combat.
How does WARDOGS building placement affect the match outcome?
Good placement gives your team a defensive advantage that can hold off enemy pushes and secure control zone points. Poor placement wastes cash and leaves your team exposed, which is why understanding structure types, build costs, and repair mechanics is essential for competitive play.